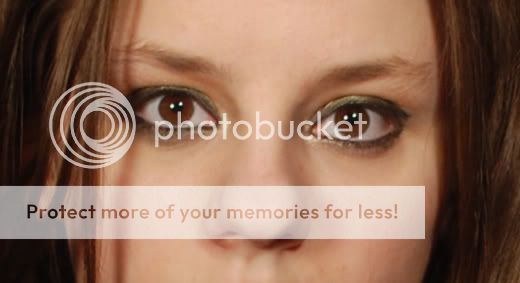
01. Pressione Ctrl O e abra uma imagem qualquer, no caso deste tutorial usaremos a foto abaixo.
======================================================================================================
01. Press the Ctrl and any open an image in the case of this tutorial we will use the picture below.

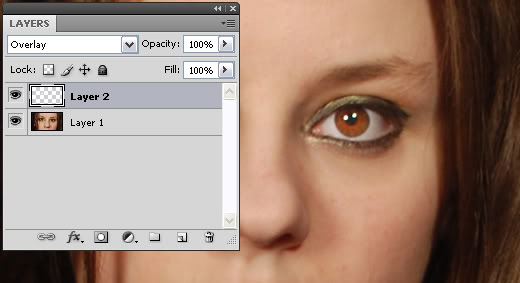
02. Pressione Ctrl+Shift+Alt+N para criar uma nova layer, pressione a letra D do teclado para resetar as cores de Foreground e Background para preto e branco, pressione a letra X do teclado para alternar as cores de Foreground e Background, sua cor de Foreground deve ser a branca, pressione a letra B do teclado para selecionar a Brush Tool, defina o valor de Hardness em 0%, escolha um brush de pontas suaves, defina o tamanho do Brush de acordo com o tamanho da íris do olho da pessoa na foto, como na imagem abaixo.
====================================================================================================
02. Press Ctrl + Shift + Alt + N to create a new layer, press the letter D on your keyboard to reset the Foreground color and background to black and white, press the letter X on your keyboard to switch the color of Foreground and Background, color Foreground should be white, press the letter B on your keyboard to select the Brush Tool, set the value at 0% Hardness, choose a soft brush tips, set the brush size according to the size of the iris of the eye person in the picture, as shown below.

03. Mude o modo de blend da layer para Overlay e seus olhos ficarão mais claros.
====================================================================================================
03. Change the blend mode of the layer to Overlay and your eyes will be cleaner.

04. Controle a intensidade do efeito na opacidade da layer.
====================================================================================================
04. Control the intensity of the opacity of the layer.

